3 Tech Tools for the Differentiated Classroom
When searching for new tech to use, I tend to ask three simple questions:
Is it relevant?
So much tech out there just isn’t useful and ends up taking more time to use then more traditional means. For example, I don’t necessarily need to use a program to randomly select students when I use the old popsicle stick trick. Some tech can be obtrusive to a teachers’ day to day routine and end up taking more time to utilize than more traditional methods.
Is it accessible?
Most tech can be accessed with laptops, but some are far more useful with personal devices. Seesaw, for example, is a program that allows students to create digital portfolios. However, so many of its features are designed for personal devices that it makes using a laptop cumbersome.
Is it free?
This is usually the dealbreaker. While a lot of tech is free, it’s key features are often blocked with a paywall. If there’s some sort of startup or membership cost, then it’s an easy skip for me!
This year, I found three pieces of tech that have been a mainstay in my day to day classroom routine. Check out how I use them and maybe you can try incorporating them in your own classroom!
Why it’s useful
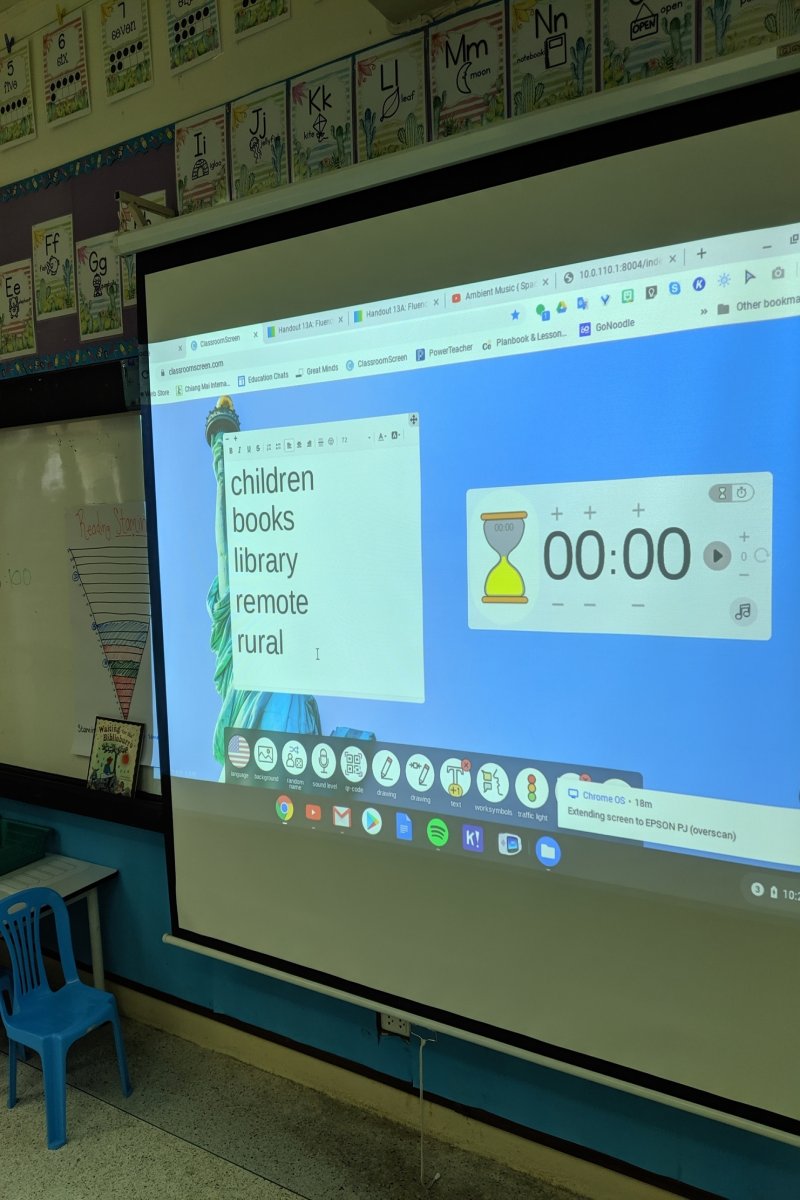
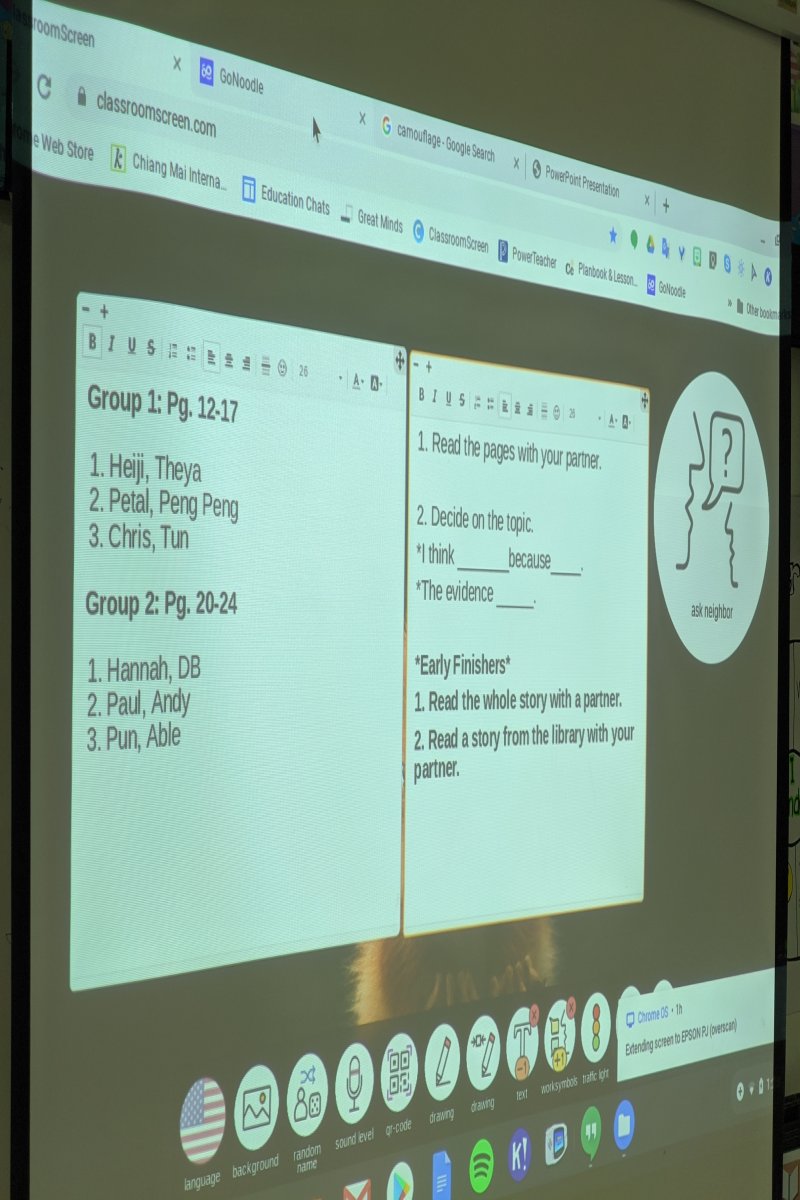
I wish I had a SmartBoard. I really do. However, I don’t and will likely never will, so I make do just fine with a projector. Classroom Screen has been a great substitute for my day-to-day SmartBoard routine. It’s not interactive in the slightest, but its selling point is being able to have a simple user interface to project timers, sentence frames, word banks, and simple management graphics all in one place. Lately I’ve been using it more for color coded sentence frames and word banks. The timer is helpful but I usually play music in class and the buzzer is loud. Also, it’s free!
Obviously a way to project your computer screen is a must. However, there are a few annoyances that I’ve run into when using Classroom Screen. The first and less annoying issue is loading. Sometimes it takes ages to load, and that can be a hassle when you spontaneously decide to use sentence frames during a lesson.
The biggest frustration is that there’s no save feature (yet). When I’m really on my a-game, I’ll prep sentence frames and word banks before a lesson. However, if I shift between tabs on my browser, the Classroom Screen will sometimes reload, thus erasing all of my work. I’ve reached out to them about this and they’re currently working on a save feature. This would be extremely useful for long projects where students will use the same sentence frames/word banks over the course of a few days. It couldn’t come sooner!
Why it’s useful
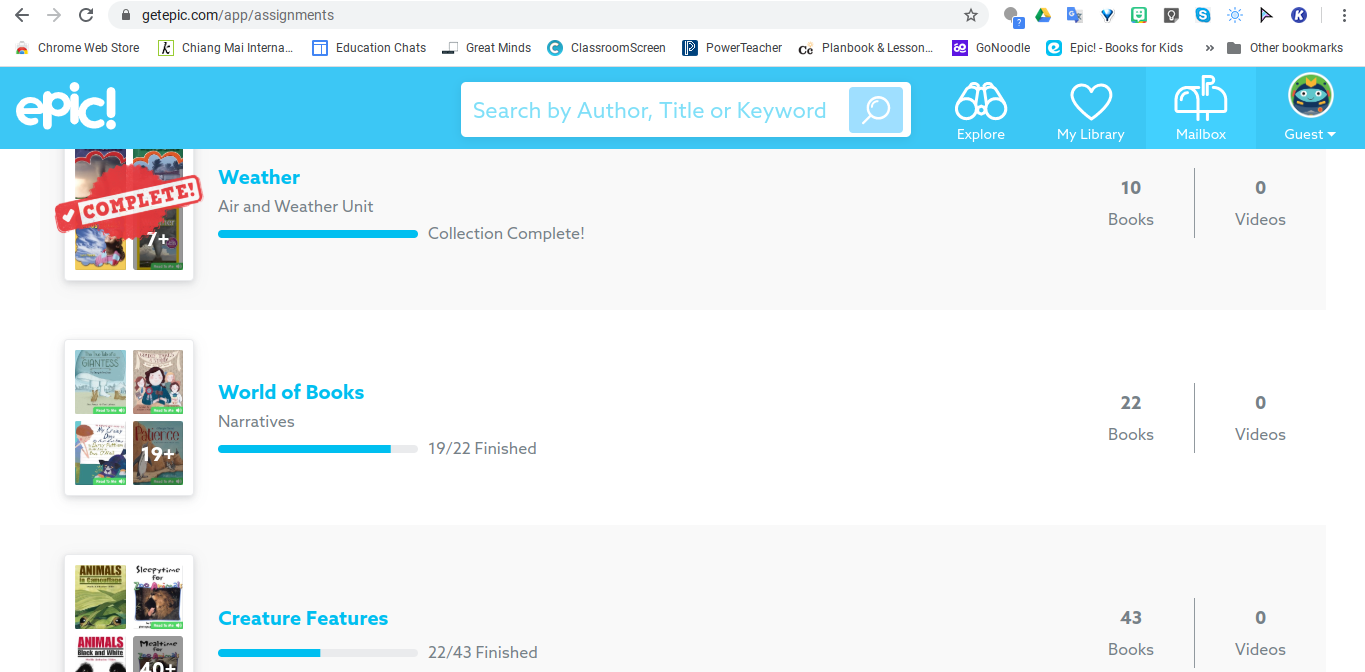
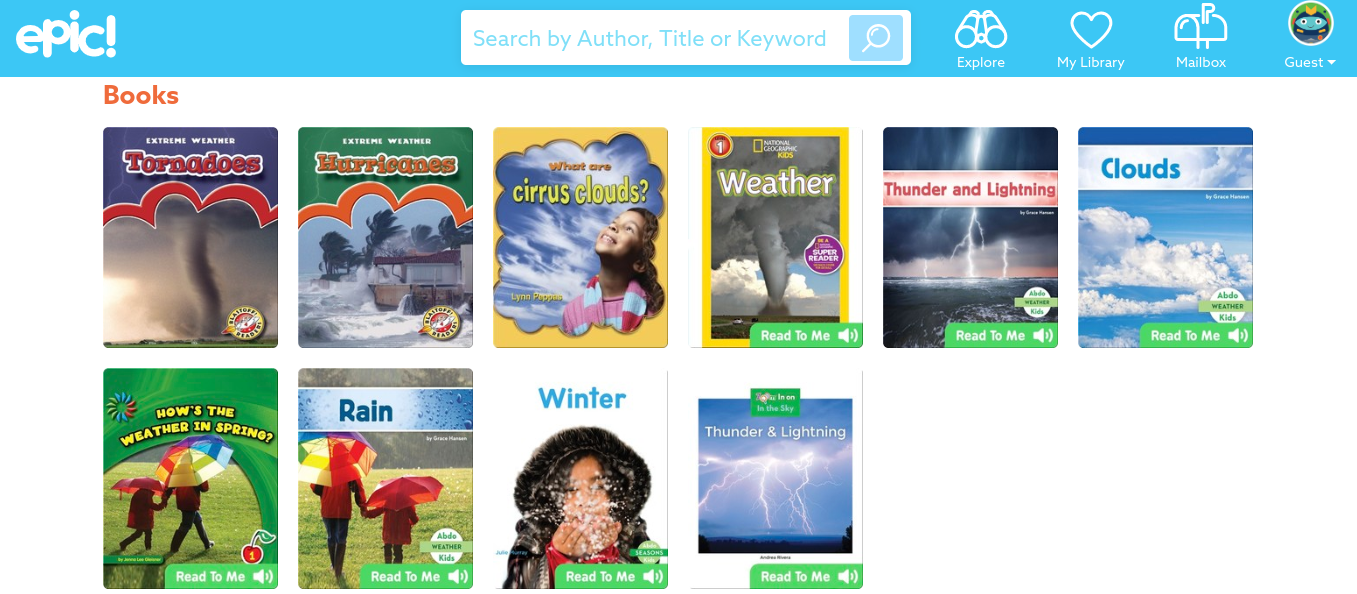
Epic! Has been a lifesaver since starting a “listening to reading” center during my weekly reading rotations. We’ve adopted the Wit & Wisdom ELA curriculum this year and each Module comes with thematic books. I’ve created libraries on Epic! to match the themes we’re studying in the curriculum. This way, students have access to similar texts across a wide variety of genres and topics that align with our unit’s Essential Question and overarching themes. Also, it’s easy to use and doesn’t require separate student logins. Students practiced using our classroom code and log in as a “guest”, then they’re set to go! I also share it with my Grade One colleague so our classrooms have access to the same libraries. And, best of all, this one is also free!
What I also love about Epic! is it’s library of audio books as well. I intentionally scatter audio versions of stories throughout each library so that emerging readers have access to content while more advanced readers can read texts on their own. Students get to choose which book they want to read and whether or not to listen to it, so this choice also provides agency in how they go about their learning.
Screen Time is a common concern with computers at school, but I’m not very worried about it in my context as students are using this program maybe 30-40 minutes in a given week. The biggest pitfall I’ve found is reinforcing intentional use of the program. Epic! also has videos that aren’t exactly tied into our curriculum goals. It’s easy for kids to click on one link and have it send them into a spiraling rabbit hole of “How to Build. . .” Lego videos or silly “meme-esque” cartoons. I’d like to break away from this rigidity to see how I can incorporate videos in addition to books as well.
Why it’s useful
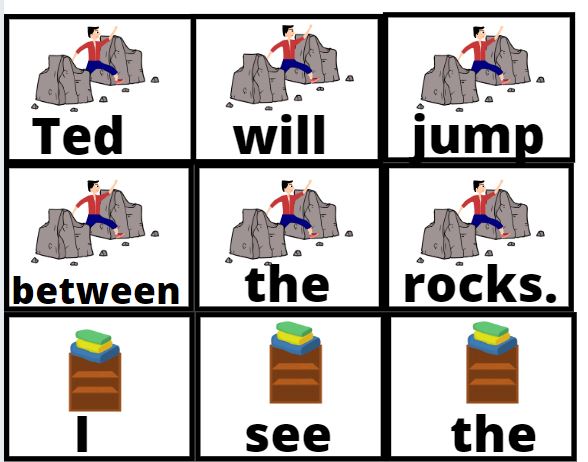
Canva is a graphics creating tool where you can create high quality posters, cards, slides, infographics, you name it. It’s incredibly easy to use and you can even upload your own images to use as graphics. I use it nearly every day to create newsletters, phonics games, and anchor charts for my classroom. Some of our middle/high school students used it to create infographics for a project in their content area classes. Sure you can use Google Slides to create images, but Canva has tools specifically designed to streamline this process to make image creation even easier. I also share a ton of my resources with colleagues and other teachers, so once you download your graphic as a jpeg or pdf, you’re free to do with it what you like. However, there is one thing that must be mentioned. . .
. . .it’s extremely expensive. While the free version is passable, the amount of graphics available in the paid version is what really makes this program shine. It’s cringey to say that this costs about $200 a year, but my husband and I share the same login and we both use it extensively. We tried using the free version but decided with the frequency of our usage that it was worth paying for. However, it’s never fun to see that $200ish dollar charge on our credit card statement every year x_x
————————
With so much tech out there, it can be easy to feel overwhelmed simply by the sheer amount of choice at our disposal, not to mention how realistic it is to actually use tech in the classroom. If tech that we’re using isn’t in the best interest of our students and amplifying their learning, then maybe it’s not the right thing to use in our classrooms.

